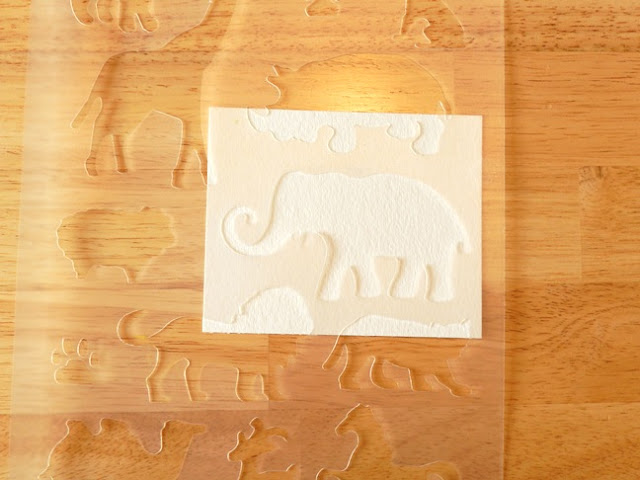
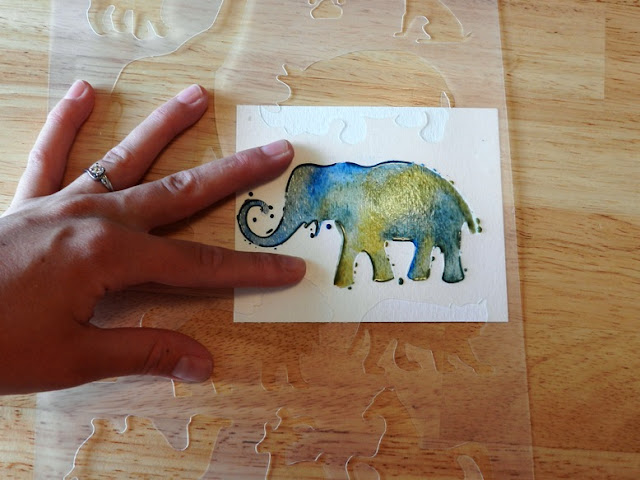
At the suggestion of a friend, I am posting a tutorial on how to make a nice watercolor painting using plastic stencils! It really is quite a simple process and you end up with something that looks professional. I love sharing these little secrets with people. It's fun!
So here is what you need to get started...
Materials:
watercolor paints
paintbrush
plastic stencils (I found some cheap ones at the dollar store)
watercolor paper
Step 1: Pick out the stencil you want to use and place it on top of your paper.
Step 2: Hold the stencil down tightly with one hand. With your other hand, load up the paintbrush with water and paint and dab some on the paper inside the stencil area. Make sure not to move the stencil until you are completely finished.
Step 3: To give it a varied look, add several different colors in random areas of the stencil. Wet watercolors will mix together on the paper- plus it's fun to watch!
Step 4: Fill in the entire area of the stencil and ever so carefully lift the stencil away from the paper.
Step 5: Let your painting dry completely and there you have it... your own mini artwork!
Tips and Tricks:
- If you notice that your watercolors are bleeding around the edges of the stencil you can try mixing less water with the paints. The more watery the paint is, the more it runs and the harder it is to control. I've also noticed that the quality of watercolor paper can affect this tendency to bleed. Using a thicker, more absorbent paper will give you better results.
- Another cool trick you can try is to sprinkle Epsom salt on the wet watercolor painting like I did with the butterfly. When it dries, just brush the salt off. It makes a really cool texture!


Tidak ada komentar:
Posting Komentar